Adding a gamepass to your Roblox game is a fantastic way to monetize your creation and offer players exclusive perks and content. It’s a simple process that can significantly enhance the player experience and generate revenue for your development efforts. This comprehensive guide will walk you through every step, from conceptualization to implementation, ensuring you can successfully integrate gamepasses into your Roblox experience.
Planning Your Gamepass: What Players Want
Before diving into the technical aspects, consider what kind of gamepass will resonate with your players. A successful gamepass needs to offer genuine value. Think about what enhances the gameplay experience, provides convenience, or offers unique cosmetic items. Some popular gamepass ideas include:
- Permanent Perks: Increased speed, extra storage, double jump ability.
- Exclusive Items: Special tools, unique character skins, custom accessories.
- Access to VIP Areas: Unlocking secret levels, exclusive shops, or VIP-only zones.
- In-Game Currency Boosts: Faster earning rates, bonus currency rewards.
Creating Your Gamepass: A Step-by-Step Guide
Now that you have a gamepass idea, let’s create it! Follow these steps within Roblox Studio:
- Open Roblox Studio and navigate to the “View” tab.
- Click on “Game Explorer” to open the Game Explorer window.
- Right-click in the Game Explorer window and select “New Gamepass”.
- A new gamepass item will appear. Name it something descriptive and appealing. Remember to keep it concise and relevant to the benefits it provides.
- Click on the gamepass icon to configure its details. You’ll be prompted to upload an image for your gamepass. Choose an eye-catching image that clearly represents the gamepass’s benefits.
- Write a compelling description for your gamepass. Clearly outline the advantages players will receive. Be specific and highlight the value proposition.
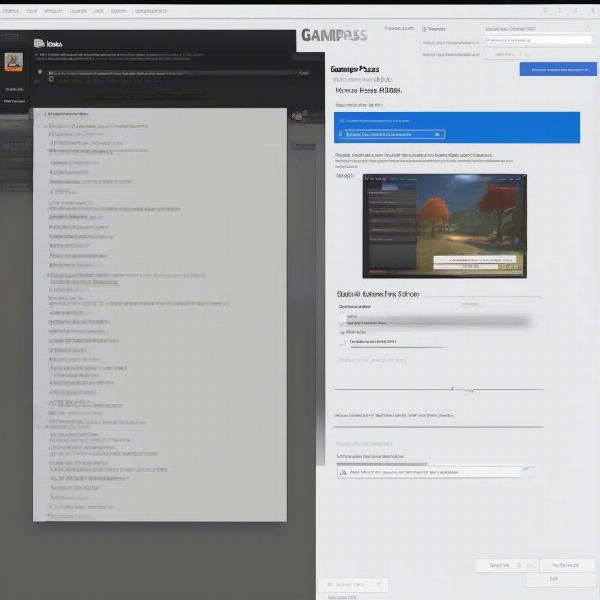
 Creating a Roblox Gamepass in Studio
Implementing Your Gamepass in Your Game
Once you’ve created your gamepass, it’s time to implement its functionality within your game. Here’s how to use Lua scripting to activate the gamepass benefits:
- Get the Gamepass ID: After creating your gamepass, copy its ID. You’ll need this to identify the gamepass within your script.
- Use the
MarketplaceService: TheMarketplaceServiceallows you to check if a player owns a specific gamepass. - Write the Script: Use the following code snippet as a template, replacing
YOUR_GAMEPASS_IDwith the actual ID of your gamepass:
local MarketplaceService = game:GetService("MarketplaceService")
local gamepassId = YOUR_GAMEPASS_ID

game.Players.PlayerAdded:Connect(function(player)
  local hasPass = MarketplaceService:UserOwnsGamePassAsync(player.UserId, gamepassId)

  if hasPass then
    -- Grant the gamepass benefits here
    print(player.Name .. " owns the gamepass!")
    -- Example: Give the player a special tool
    local tool = game.ReplicatedStorage.SpecialTool:Clone()
    tool.Parent = player.Backpack
  end
end)- Test Thoroughly: Test your gamepass implementation rigorously to ensure it functions correctly. Check for edge cases and ensure the benefits are applied consistently.
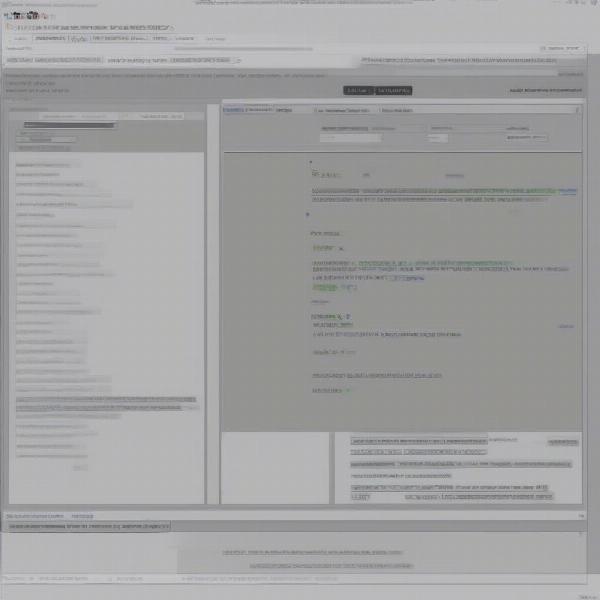
 Implementing Roblox Gamepass Script
Monetizing Effectively: Pricing and Promotion
Choosing the right price for your gamepass is crucial. Research similar gamepasses and consider the value you’re offering. Don’t undervalue your work, but also ensure the price is attractive to players. Promote your gamepass within your game, on social media, and through Roblox groups. Highlight the benefits and encourage players to purchase it.
Common Gamepass Errors and How to Fix Them
Sometimes things don’t go as planned. Here are a few common issues and their solutions:
- Incorrect Gamepass ID: Double-check you’ve copied the correct gamepass ID.
- Typographical Errors in Script: Carefully review your Lua script for typos, especially in variable names and function calls.
- Network Issues: Ensure you have a stable internet connection. Network problems can interfere with gamepass functionality.
Leveraging Gamepasses for Long-Term Success
Gamepasses are a powerful tool for building a sustainable Roblox game. They provide a recurring revenue stream and allow you to continually add new content and features. By listening to player feedback and adapting your gamepasses accordingly, you can create a thriving community and ensure long-term success.
Beyond the Basics: Advanced Gamepass Strategies
Once you’re comfortable with the basics, explore advanced strategies like tiered gamepasses, limited-time offers, and bundles to maximize player engagement and revenue. Remember, understanding your audience is key to crafting compelling gamepasses that resonate with their desires.
Conclusion
Adding a gamepass to your Roblox game can transform your creation from a hobby into a thriving business. By following the steps outlined in this guide, you can effectively monetize your game and offer players exciting new ways to engage with your world. Now it’s time to implement your first gamepass and see the positive impact it has on your Roblox game!
FAQ
-
What is a Roblox Gamepass? A Roblox Gamepass is a premium item players can purchase to unlock special perks, items, or abilities within a specific game.
-
How much does it cost to create a Gamepass? Creating a gamepass is free, but Roblox takes a percentage of each sale.
-
How do I get the Gamepass ID? The Gamepass ID can be found on the gamepass configuration page within Roblox Studio.
-
Can I change the price of a Gamepass after it’s published? Yes, you can adjust the price of your gamepass at any time.
-
How can I promote my Gamepass? Promote your gamepass in your game description, through social media, and within Roblox groups related to your game.
-
What if my Gamepass isn’t selling? Re-evaluate its price, benefits, and how it’s being promoted. Consider player feedback and make adjustments accordingly.
-
Can I offer refunds for Gamepasses? Roblox handles all refund requests, and players can request refunds through the platform’s standard refund process.

