Creating your own Plinko game board is a fun and rewarding project. Whether you’re aiming for a classic Plinko experience or a customized version, understanding the process is key. This guide will walk you through everything you need to know, from material selection and design considerations to the actual construction and finishing touches.
Planning Your Plinko Board
Before diving into the construction process, careful planning is essential. This includes deciding on the size of your board, the materials you’ll use, and the overall design. A well-planned project ensures a smoother build and a more satisfying finished product. Consider what kind of Plinko experience you’re aiming for: a classic, casino-style board or a smaller, more portable version for home use.
Determining the Size and Shape
The size of your Plinko board will largely depend on the available space and your intended use. A larger board offers a more dramatic Plinko experience, while a smaller one is more practical for home use. Consider the height and width, keeping in mind the average trajectory of a Plinko chip. Traditional boards are often rectangular, but you can get creative with the shape. Circular, triangular, or even themed shapes can add a unique twist to your Plinko game.
Selecting Materials
Choosing the right materials is crucial for the durability and functionality of your Plinko board. Plywood is a popular choice for its strength and affordability. For the pegs, you can use dowels, nails, or even screws. The material for the chip-catching bins at the bottom can range from simple cardboard boxes to custom-built compartments. Consider the overall aesthetic you want to achieve when selecting your materials.
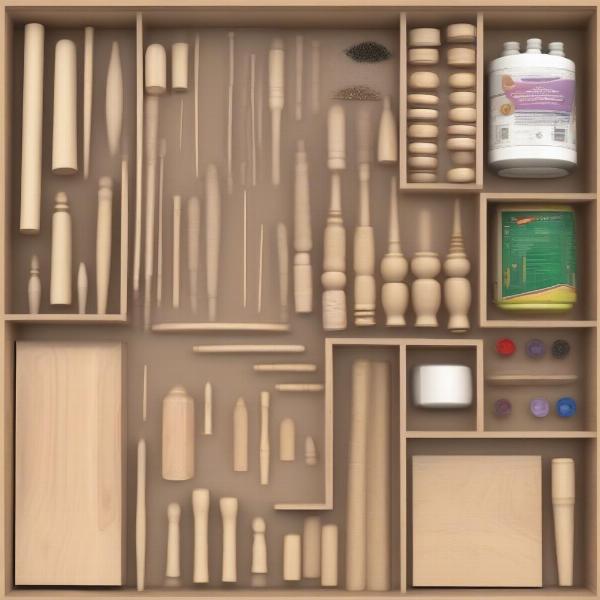 Choosing the Right Materials for Your Plinko Board
Building the Plinko Board
With the planning phase complete, you can begin the construction process. This involves building the frame, inserting the pegs, and creating the prize slots at the bottom. Precision and attention to detail are key to ensuring a smooth and enjoyable Plinko experience.
Constructing the Frame
The frame forms the backbone of your Plinko board. Cut the plywood according to your planned dimensions and assemble it using wood glue and screws. Ensure the frame is sturdy and square. Reinforce the corners for added stability. A solid frame is essential for supporting the weight of the pegs and ensuring the board remains level during gameplay.
Installing the Pegs
The pegs are the heart of the Plinko game. Mark out the peg placement carefully, ensuring even spacing and a consistent pattern. Drill pilot holes before inserting the pegs to prevent the wood from splitting. Use a level to make sure the pegs are straight and perpendicular to the board surface. The arrangement of pegs will influence the chip’s path and ultimately determine the outcome of the game.
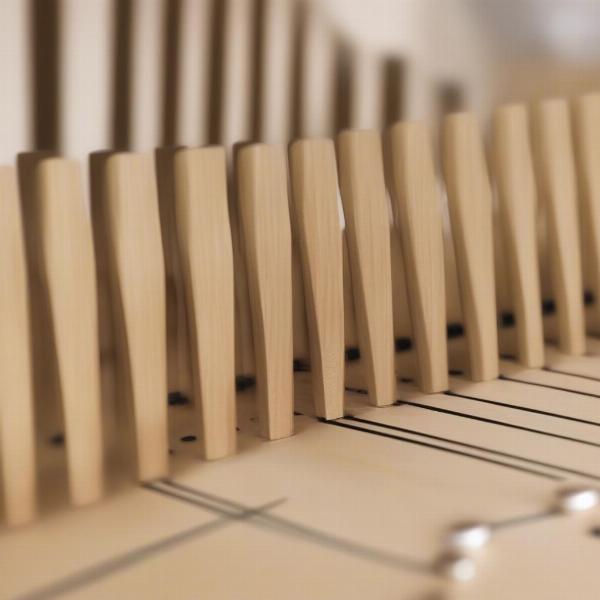 Installing Pegs on a Plinko Board: A Step-by-Step Guide
Creating the Prize Slots
The prize slots at the bottom of the board are where the Plinko chips ultimately land, determining the player’s winnings. Create dividers to separate the slots, using cardboard or thin wood strips. Ensure the slots are of equal size and that the dividers are securely attached. Consider adding labels or numbers to each slot to indicate different prize values.
Finishing Touches and Customization
Once the basic construction is complete, you can add finishing touches to enhance the appearance and functionality of your Plinko board. This is where you can personalize your game and make it truly your own.
Painting and Decorating
A coat of paint can dramatically improve the visual appeal of your Plinko board. Choose colors that complement your game room or event theme. You can also add decorative elements like stickers, glitter, or even LED lights to create a more engaging and visually stimulating experience.
Adding a Backboard
A backboard not only enhances the aesthetic of your Plinko board but also prevents chips from flying off the sides. Cut a piece of plywood or acrylic to fit the back of the frame and attach it securely. You can paint the backboard a contrasting color or add graphics to further personalize your game.
Chip Design and Storage
Consider customizing your Plinko chips with different colors, numbers, or logos. This can add another layer of personalization and make the game even more engaging. Provide a designated storage area for the chips, such as a small bag or box, to keep them organized and prevent them from getting lost.
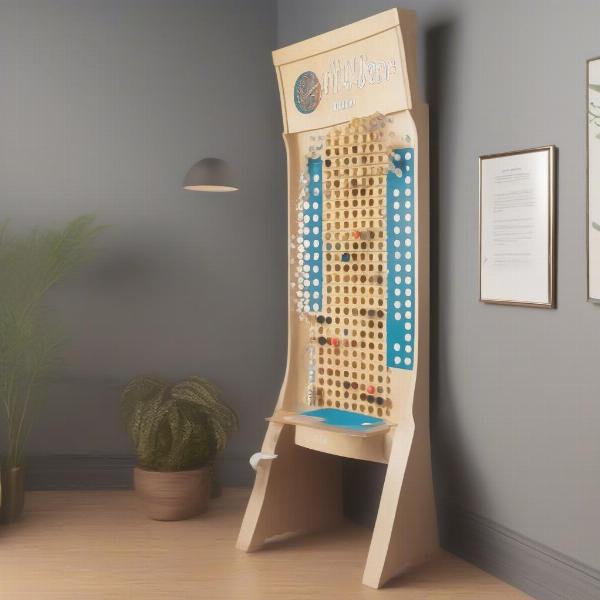 Customizing Your Plinko Board for a Unique Gaming Experience
Additional Considerations for Your Plinko Board
Beyond the basic construction, there are several other factors to consider to enhance your Plinko gaming experience. These include understanding the physics of the game, incorporating prize variations, and ensuring fair gameplay.
Understanding the Physics of Plinko
The unpredictable nature of Plinko is what makes it so captivating. The path of a chip is influenced by gravity, friction, and the pegs it encounters. While you can’t control the outcome of each drop, understanding these principles can help you appreciate the nuances of the game.
Prize Variations and Gameplay
Traditional Plinko games often award points or cash prizes. However, you can get creative with the rewards, offering anything from small gifts to larger prizes based on where the chip lands. Consider different scoring systems or bonus rounds to add variety and excitement to the gameplay.
Conclusion
Building a Plinko game board is a fun and engaging project that allows for creativity and customization. From planning and material selection to construction and finishing touches, each step contributes to the final product. By following this guide on How To Make A Plinko Game Board, you can create a unique and enjoyable game for yourself, your family, and friends. Now, go ahead and start building your own Plinko masterpiece!
FAQ
-
What type of wood is best for a Plinko board?
Plywood is a good choice due to its strength and affordability. -
How many pegs should I use on my Plinko board?
The number of pegs depends on the size of your board and the desired level of complexity. Start with a standard pattern and adjust as needed. -
What can I use for Plinko chips?
Coins, washers, or even custom-made tokens can be used as Plinko chips. -
How do I ensure the pegs are evenly spaced?
Use a ruler and a pencil to mark the peg locations before drilling. -
What can I use for prizes?
Anything from candy to small gifts can be used as prizes. -
How can I make my Plinko board more visually appealing?
Paint, stickers, and other decorative elements can enhance the appearance of your board. -
Can I make a smaller, portable Plinko board?
Yes, you can adjust the dimensions to create a smaller board that is easier to transport and store.